 A dash cam or dashboard camera, a device that’s exactly what the name implies, is a camera that is mounted on your vehicle’s dashboard. The basic nature of a dash cam is to act as a “silent witness” in the event of accidents – the dash cam is designed to carefully and accurately record every detail that takes place on the road. In this review, we would be considering the Discover IT dashcam.
Table of Contents
About Product
With the built-in G-sensor, Discover It dashcam is wired to automatically detect sudden shake/collision and lock the footage to prevent the video from being overwritten even in loop recording. Meaning that the accident scene can be truly restored. The product sells on Amazon for $269. It has product dimensions of 5.5 x 5.5 x 5 inches and weighs about 1.3 pounds.
In addition to a front-facing camera, this dash cam also has a cabin camera like vizomoai Dashcam that records what goes on inside the vehicle, an important safety feature for taxi or rideshare driver for monitoring what happens inside the vehicle. This in-cabin dash cams is equipped with infrared lights that provide recording details under poorly-lit conditions, as well as total darkness.
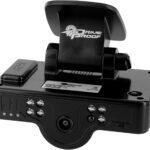
Discover IT Dual Dash Cam Review
As a cab or Uber driver, you never know what state, or type of person that might be getting into your car. And by having a video recording, you can protect yourself from false claims that can negatively affect your integrity.
Drive Proof dash cam also has built-in GPS and Cloud connectivity; hence, the device not only records every single detail that takes place on the road, it also stamps it with the time, date, speed, and direction of travel.
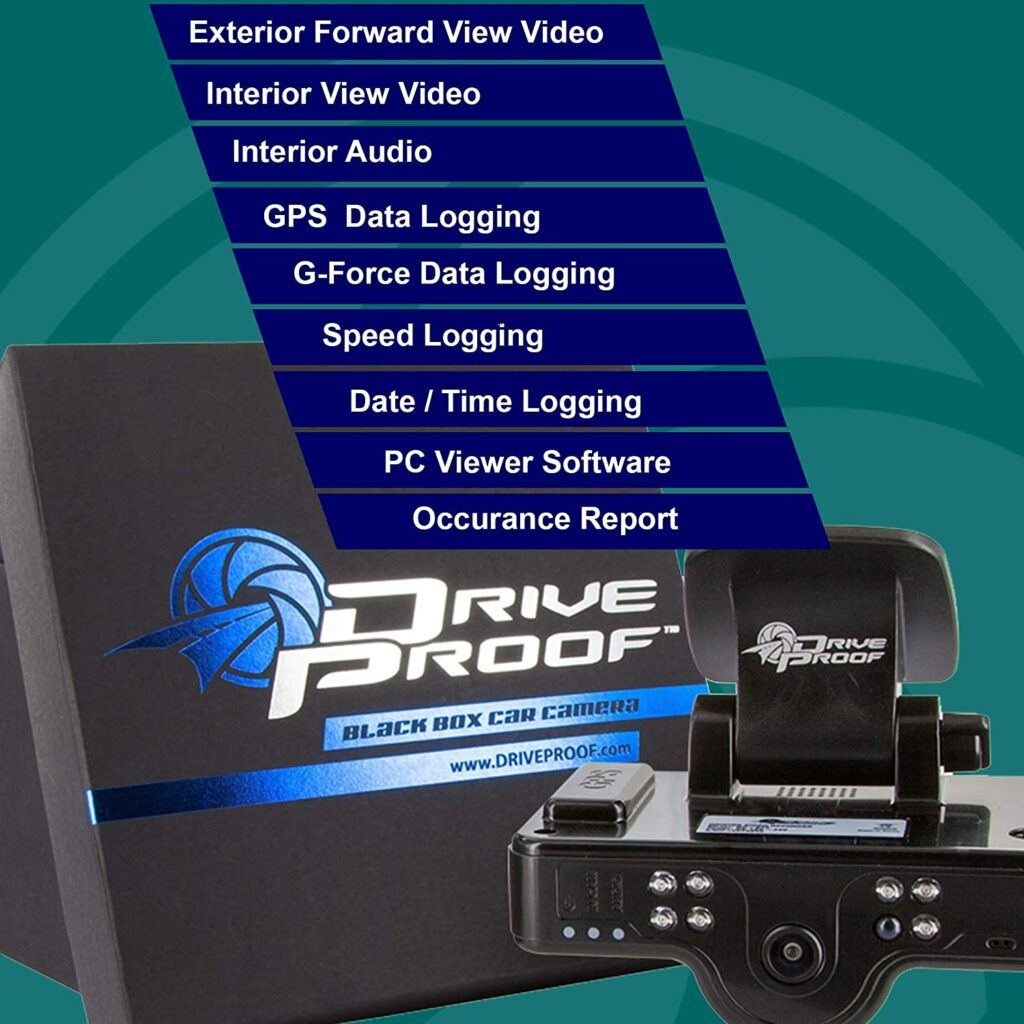
You can even watch what is happening in real-time using your smartphone, any time, anywhere. This recorder operatess a 120° wide angle lens that reduces the blind spots and captures more details, reserving the real scene. The front and rear facing dash cam both have a 117° cabin facing camera.
The number of hours it records depends on the size of the SD card and the quality of video you’ve selected. Typically, when the card’s available storage runs out, the dash cam will start overwriting the oldest files with the loop recording sequence, so you always have a record of your most recent drive.
What Is Product For?
Provides you high quality real-time visuals of all that goes on inside and outside your car.
Who Is It For And How Helpful Can It Be?
While the upfront cost of it may seem expensive, this dash cam will help drivers save money in the long run by getting them out of hit-and-runs, vehicle accidents and more.
Having that peace-of-mind knowing that your vehicle is protected by your silent witness is priceless.
FAQ’s Related to IT Dashcam
-
What about the lens resolution?
That’s about 640 × 480 pixels VGA.
-
Is there a screen I can hook to this camera like a display screen to watch in real time?
This device does not include a viewable screen. However, it comes with A/V output cable that can be connected to a compatible screen.
-
Does this dash cam have GPS?
Yes, it has a built-in GPS and can accurately track your driving route location and speed in either km/h or MP/H.
-
What is this item’s weight?
This product weighs about 1.3 pounds.
-
Does the dash cam have loop recording?
Yes, it does have the loop recording sequence.
How To Install It In a Car
An incorrectly fitted dash cam could see you on the wrong side of the law. If your dash cam isn’t fitted properly, not only can your footage be disregard by your insurance company and the police, but you may well be breaking the law.
There are strict rules about where in-car equipment should be positioned. Dash cams must be fitted so that they don’t obstruct the drivers’ vision, otherwise you could be liable to pay a fine.
Step 1 – Decide on your dashcam’s positioning
Sitting in your driver’s seat in your vehicle, you want to try different positions for your dashcam. It’s a good idea to place the dashcam within arms reach of your seat, but definitely do not mount the dashcam in a location that obstructs your view of the road ahead.
Step 2 – Locate your vehicle’s fuse box
Since we are running a power cable from the dashcam to the fuse box, we need to know where the fuse box is. Most vehicles have a fuse box underneath the dashboard on the driver’s or passenger’s side.
In this case, the fusebox is easily accessible below the steering column (behind a removable panel). Consult your owners manual for the location of the fuse box in your vehicle.
Step 3 – Begin routing the power cable
Starting at the dashcam, lay out the power cable roughly where it will run once hidden behind the vehicle’s interior panels. This gives you an idea of where to route the cable and how much slack to leave on the way down to the fuse box.
Step 4 – Locate a fuse that is “hot in start”.
Moreover, vehicle fuses may have power at all times (always hot), or only when the vehicle is running (hot in start). In order to have the dashcam come on automatically when the vehicle is running, and turn off automatically when the driver turns off the vehicle, we will connect our add-a-circuit kit to a “hot in start” fuse.
Furthermore, to identify which fuses are hot in start, we use a simple circuit tester that illuminates when power is present. You must use the circuit tester to ensure there is no power at the fuse when the ignition key is off, and power is present only when the ignition key is turned to the run position.
Step 5 – Install the installation kit add-a-circuit power cable
Make sure the key has been remove from the ignition. Using a fuse puller or a pair of pliers, gently remove the fuse you identified in step 4. The other end of the installation wiring kit must be ground to your vehicle. Most cars have at least one obvious ground point near the fuse box.
Step 6 – Button up your install
Use a zip tie to bundle the excess power wire together. Then, safely secure the wiring to a solid mounting point underneath the dashboard or behind the kick panel using more zip ties.
Step 7 – Test your installation
Insert your key in the ignition and turn it to the run position. If everything was install correctly, you should see your dashcam turn on and begin recording! At this point you may go ahead and reinstall all interior panels that were removed to facilitate running the power cable.
Pros
- GPS enabled.
- Super night vision.
- Wide angle.
- Flexible camera.
Cons
- Installation might be stressful if no professional service is available.
Conclusion
Video technology is advancing all the time, particularly in image quality. An increasing number of dash cams can shoot video in 4K – giving you as much clarity as possible in your footage, and the DiscoverIt dash cam here is no exception.
Although a bit pricey, it’s one unit that offers good value for money.

