Dash cams don’t have dedicated batteries, which means they rely on the car battery to operate. A dash cam running overnight means it will heavily drain your battery and would require more storage capacity. This means motorists need more resources to power their units all night. But can a dash cam record all night? Or do you need another device for that? And is recording all night good for your dash cam? Keep reading to find out the answers to these questions and more.
Can A Dash Cam Record All Night
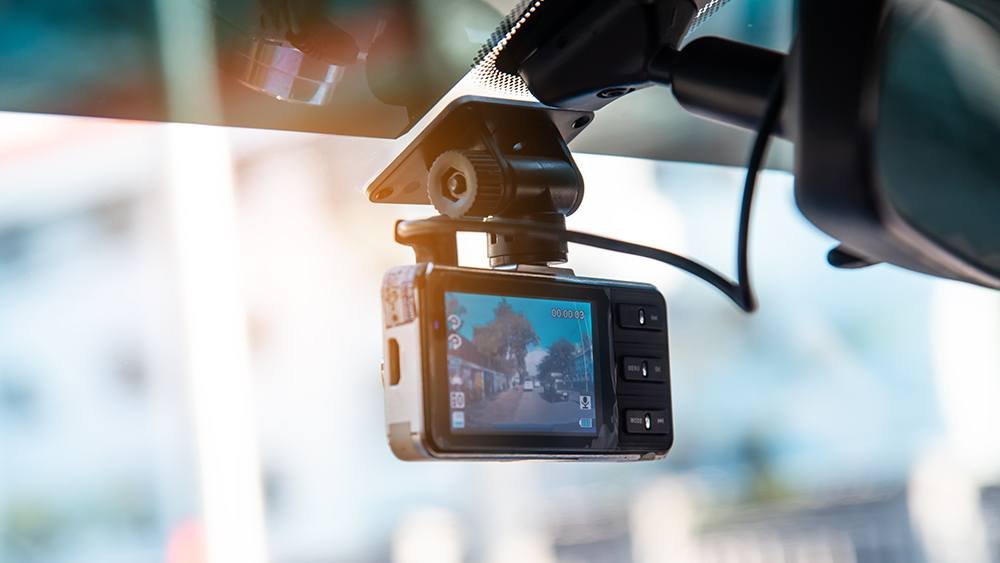
There are different types of dash cams, and only a select advanced few record all night. Most dash cams would go off once the vehicle’s ignition is off unless hardwired. There’s also the parking surveillance mode that ensures your dash cam captures important events even at night. However, in a bid to conserve battery and storage, this mode only activates at impact or through its proximity sensors. If you want your dash cam to run all night due to certain reasons, then we recommend hardwiring it.
Car owners are now using their dash cams as a cheaper alternative to CCTV by using them to record their environment all night. Can you also record all night, and how?
Table of Contents
How To Keep Your Dash Cam Running All Night
Motorists living in areas with high crime rates are always looking for better ways to secure their investments. Asides from buying an insurance premium, what other steps are they taking to protect their cars? More motorists are now mounting dash cams on their dashboards to provide faster insurance claims and compensation from offending parties.

However, because of its limited battery and storage capacity, most dash cams only record with the ignition on.
To keep your dash cam running all night, we recommend hardwiring. This allows your dash cam to record all the surrounding events even when the ignition is off. You can connect your cam to your smartphone to review footage on the go or review in the morning.
We advise motorists to connect their dash cams to the cloud. Advanced dash cams now allow motorists to store dash cam data on the cloud, providing access to important data all year long. Manufacturers offer different storage plans depending on budget.
How to Hardwire your Dash Cam
Advanced dash cams come with a kit that allows you to connect your dash cam directly to your vehicle fuse box. This eliminates the risk of battery drain as the kit provides an extra battery for the operation of the dash cam that keeps your dash cam running 24/7.
Record all night and all day, with any of the high capacity Sd storage that we offer. How to hardwire your dash cam? Keep reading to find out.
While you can hardwire it yourself, this process can become complex and we suggest that you take your time and read the instructions carefully before commencing installation. On the other hand, you can simply hire a professional to complete the process for you.
Improper hardwiring can damage your vehicle. We highly recommend that motorists learn the intricacies of dash cam hardwiring.
Note that the installation process is about 1-2 hours.
Materials You Need To Hardwiring Your Dash Cam
- Fuse Kit
- Multimeter
- Trim tool
- Charger Plus Hardwire kit
Step 1: Locate Car Fuse A Car Battery
Your fuse box is the most important unit in your car’s electrical system. It prevents damages from short circuits that could cause overheating, and overload. It controls all the electrical current flowing through your vehicle. To start the hardwiring process, locate the fuse box of your car and plug in your hardware kit for power.
Locating your fuse box may be a problem if you’re not familiar with the components of your vehicle. We recommend that you consult your vehicle’s fuse box diagram to quickly locate the fuse. Each vehicle has more than one fuse box. Locate the one closest to your dash cam and connect.
Step 2: Test Car Battery
Your car battery must be in good condition, and powerful for the operation of your dash cam. Most car batteries are located with the engine and can be easily identified.
If you find that your car battery is underperforming or not up to par with the demands of dash cam, do well to replace it before installing the dash cam. Installing your unit on a poor battery will drastically reduce performance and reduce the overall functions of your vehicle.
The battery is arguably the most important component in advanced vehicles as it is responsible for starting the engine. Always make sure you replace your old battery with a replacement car battery from your car manufacturer.
How to test your battery
Using the multimeter, plug the black lead to the negative terminal, and the red lead to the positive terminal of your car battery while setting the multimeter to 20 DVC. A good reading should be 12.6V or 24.6V. Anything lower than these figures may cause problems when hardwiring your unit.
Step 3: Ground your wires
Grounding helps to reduce the effect of electrical damages to your vehicle. A proper grounding ensures your safety, and that of your vehicle in the event of a short circuit. So how do you properly ground your wires? Your car chassis should be good for grounding.
You can test your grounding using two methods: continuity Test and Resistance Test. The continuity test involves using a multimeter. Plug the black lead to the negative terminal of your car battery and plug the red lead to your ground point. The test is complete when you hear a beep. Otherwise, find another ground point and try again.
To test using the resistance option, set your multimeter to resistance mode and plug the black lead to the negative terminal of your battery, and the red lead to the ground point. Anything less than 0.2hms is acceptable.
Step 4: Test Your Dash Cam
Check to see if your dash cam is working by plugging the kit into the camera and switching on the unit. We recommend that testing be done before tucking in your wires. This saves you from having to unwrap your already tucked-in wires in case there is a problem or wrong connection somewhere.
Go ahead and tuck in your wires after a successful installation. You can tape them or use any type of casing of choice. You’re now good to enjoy all night dash cam coverage.
Do I Need To Activate Parking Surveillance Mode To Record At Night
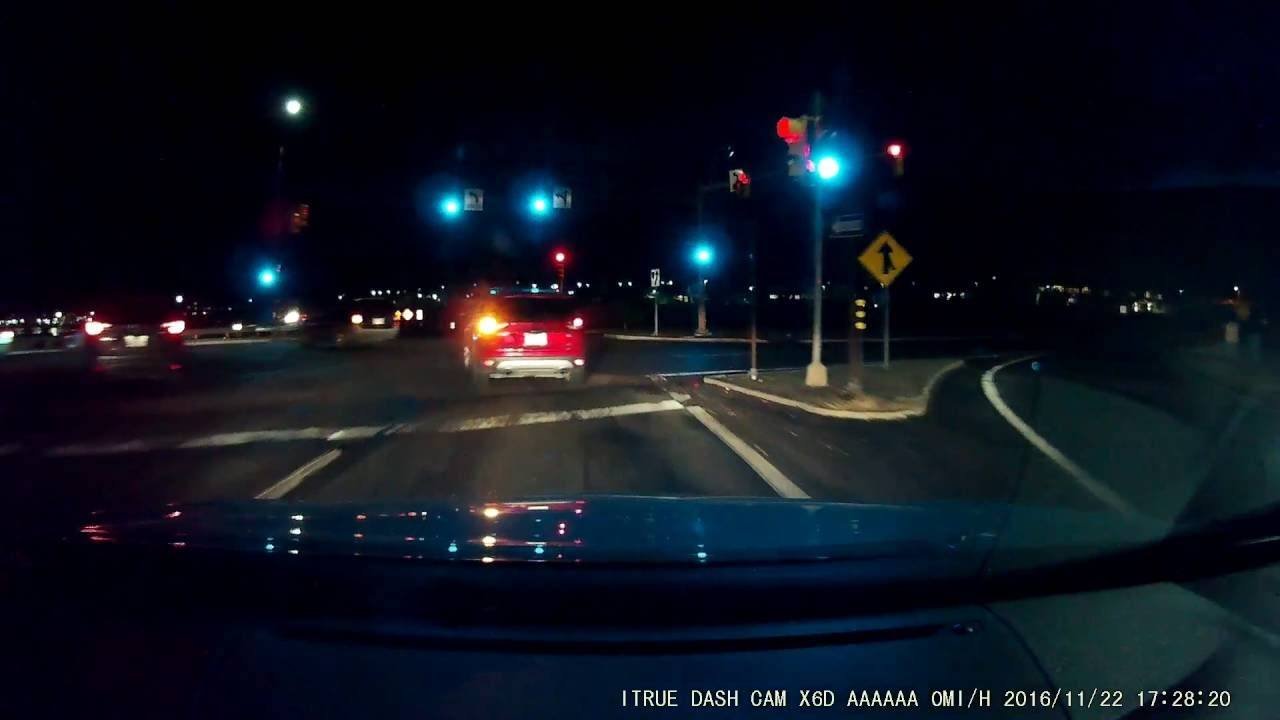
Your dash cam will record all night after a successful installation. However, is it advisable to leave your unit recording all night? Such recording length will require a large Sd card capacity.
We recommend Sd cards ranging from 64GB and above. But an overnight recording will quickly drain your battery and may overwrite important footage on your Sd card in an attempt to store new files. To avoid any of these, we recommend installing an advanced dash cam with the parking surveillance mode.
Record only important events. Advanced dash cams are equipped with sensors that trigger the device to start recording whenever there’s someone nearby or via impact. We recommend that dash cams that are sensor triggered as it captures the before and after of the incidents.
Parking surveillance mode is required to record all night. Find the best advanced dash cams with parking surveillance mode here.
Should I Remove My Dash Cam At Night
Only dash cams with parking surveillance should be left mounted. Otherwise, unmount dash cam to prevent theft. Leaving dash cam mounted on windshield attracts thieves who may also damage other parts of your vehicle. Store it in a protective case to avoid damage as you move It. Find some of the best casings here.

