Car equalizers are an important device for improving sound texture and eliminating distortion. EQs have developed over time, starting from analog equalizers which used knobs to digital EQs with slides that can be easily operated. Graphics EQs allow users to quickly adjust in-car sound and provide a better understanding of their in-car sound. What is a car graphic equalizer and how to use it?
A car graphic equalizer is a device designed with sliders for different frequency bands for adjusting each frequency band. Depending on the brand, graphic equalizers might have up to 5 bands or less for adjusting each frequency. Graphic EQ bands include Treble (20,000 Hz), Upper Midrange (10,000 Hz), Midrange (1000 Hz), Mid-Bass (100 Hz), and Sub-Bass (30 Hz).
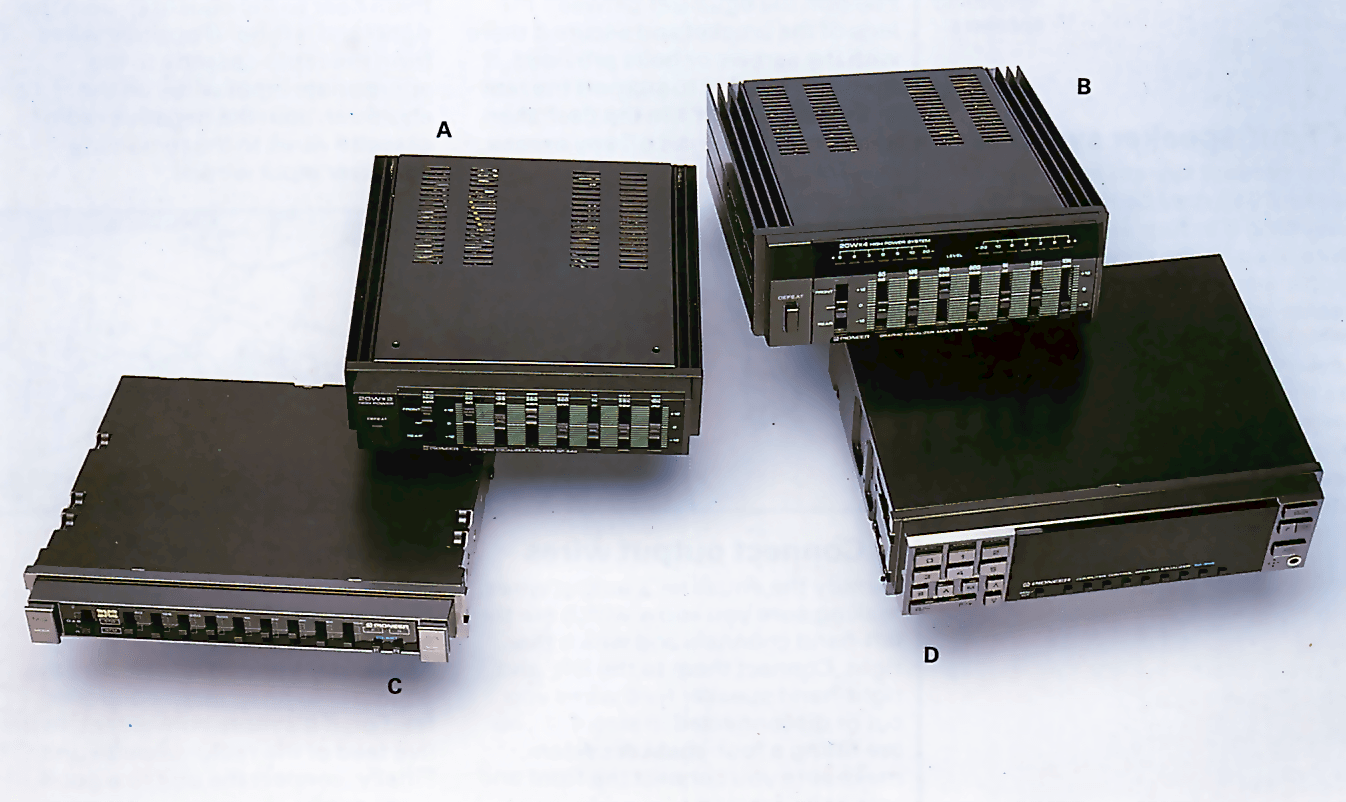
Motorists are choosing Graphic EQs because of the ease of use they provide, and style. However, before buying and installing a graphic equalizer, you should check for complete compatibility to make sure it can work with your stereo system.
Table of Contents
What is Graphic Equalization
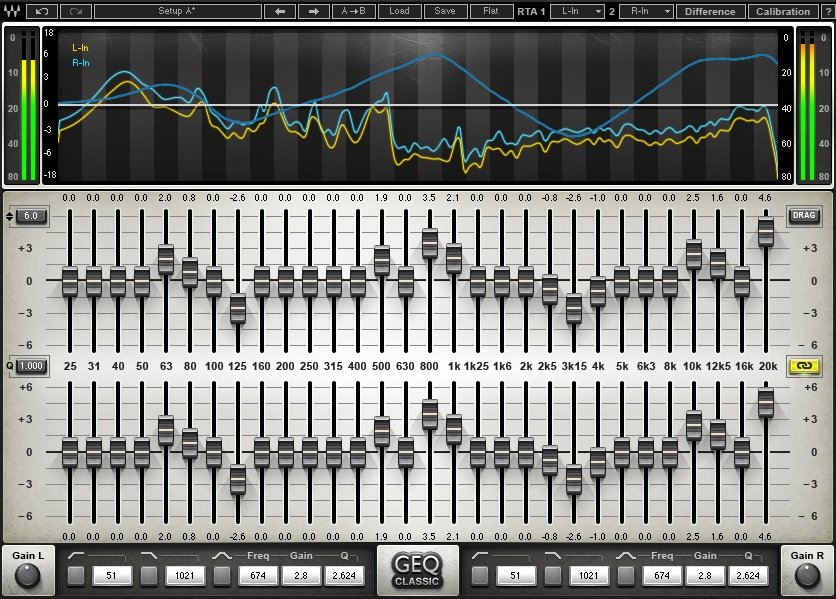
Graphic equalization provides motorists with a better, clearer, and a descriptive indication of the changes being made to their sound and it affects the sound. Instead of relying on their ears, graphic equalizers show the user the frequency band, providing them with more accurate data.
Graphics EQs display a set of fixed frequency bands. Each EQ has a set of frequency bands, ranging in numbers. Some EQs have 5 bands, while others have 10.
Advanced and more expensive graphic EQs have more bands, some up to 10, giving motorists more control over the adjustment of their in-car audio. The frequency spectrum is stretched thinner over the 10 slides. And audiophiles prefer this setup because of the total control it provides.
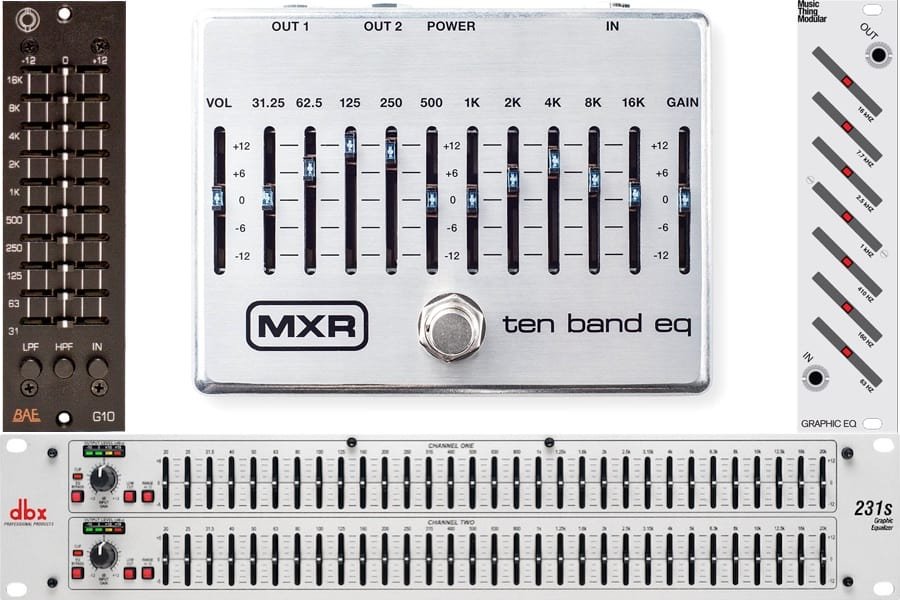
The individual bands have specifically dedicated center frequency and a value that can be adjusted with a fader. Adjusting one fader affects the nearby band, and while the bandwidth of each band is designed specifically to reduce interference, users will still experience minimal interference.
Graphics Equalizers have filters for separating the upper, middle, and low frequencies to allocate sound to specific speakers. The high and middle frequency is filtered to the loudspeakers and tweeters, while the low frequency is allocated to your subwoofers.
Graphics EQs also have several other controls including sliders, faders, and auxiliary input to help improve your in-car sound output. Advanced EQs have several controls and frequency bands.
How To Use A Graphic Equalizer
It is not enough to have a graphic equalizer in your car. You should know how to use it. Graphics EQs are easier to use, unlike analog EQs, the sliders make them easier to control and adjust.
Graphics EQs have a feature that allows users to save settings, so they don’t have to adjust the sliders now and then. Amateur sound enthusiasts simply have to adjust the sliders once to fit their in-car ambiance and reuse it every day. You can also use settings from professionals on YouTube.
But learning to use a Graphic EQ yourself allows you to quickly adjust your EQ at any time to eliminate distortion and other sound nuisances without waiting for external help.
Identify the frequency range on your EQ. Each EQ has a frequency range between 20 Hz and 20 kHz. Each frequency is controlled by a slider that allows you to control the range.
Most EQs have preset settings for different genres. For example, you may find a preset setting for Jazz, Rock, Hip-Hop, and so on. This eliminates the stress that comes with adjusting the sliders on your equalizer. Simply set it one preset and enjoy your favorite music.
However, Preset may not put certain factors into consideration, such as the ambiance of your vehicle. So trust your ears. If you want the best listening experience, then we suggest you use the custom equalizer settings to adjust the equalizer and listen carefully until you’re satisfied with what you’re hearing.
An important tip is to set your EQ to preset settings and adjust it from there. For example, if you want to listen to Drake, set your EQ to Hip-Hop and adjust it from there. However, if you have vast knowledge in adjusting EQs, then you can stay from custom until you achieve a satisfactory setting.
While You can save EQ settings, changing them constantly is the only way to enjoy optimal sound output. For example, adding a new device to your audio system or any new material to the interior may change the sound production. Even the preset EQ setting may not sound right. So, change the EQ settings whenever there’s an alteration to your sound system or an addition to your interior design.
Note that your vehicle’s interior doesn’t have the best ambiance for sound reproduction.
One common mistake motorists make, however, is to crank up desired frequencies. For example, cranking up the low bass for Hip-Hop music while leaving the other frequencies on the same level. The right way to adjust a graphic equalizer is by leaving the desired frequency at 100 Hz and reducing the other frequencies until you achieve the desired results. Cranking up the desired frequency will only lead to distortions, and cause chaos.
Adjust Graphic Equalizer Using Vocals And Instruments
You can adjust a graphic EQ by simply identifying the vocal texture and instruments on the audio files. Highlight the specific frequency bands for each instrument and vocal to enjoy the best of each world. Before you can begin to trust your ears, trust the following frequencies:
● Saxophone: 100 Hz-700 Hz
- Saxophone: 100 Hz-700 Hz
- Cymbals: 200 Hz-10 kHz
- Male vocals: 60 Hz-500 Hz
- Female vocals: 150 Hz-1.6 kHz
Once you’ve identified the instrument of vocal texture, search for the frequency on the EQ and boost it accordingly. You may want to do a bit of trial and error until you’re comfortable with the frequency range on your EQ. You may not always find the exact frequency, so search for the closest range to the instrument and make your adjustments.
As mentioned earlier, do not concentrate on only boosting your desired frequency. Instead, cut down other frequencies that highlight other vocals and instruments. For example, instead of boosting male vocals above 100 Hz, decrease female vocals below 100 Hz. By doing so, you’ll be able to hear only the male vocals. And if that range is not sufficient, then slowly crank it up until you’re satisfied with what you hear.
Why Buying A Graphic Equalizer Is Worth It
Graphic equalizers are pricey and may require additional maintenance. Then why shouldn’t you simply opt for a lower-priced analog option? The answer is quite simple.
Graphic EQs take away the stress of having to listen for frequency changes when you can just follow the visual representation of the changes happening in real-time.
A Graphic equalizer will provide you with clear, distortion-free audio. It gives motorists total control over the texture of the audio and can fine-tune even the noisiest audio file. A Graphic EQ allows you to listen to your favorite music according to your listening preference.
Most stereo systems don’t put the negating factors, such as noise, the shape of car interior, and interior material into consideration. And you can’t blame them because it’ll be difficult to cater for all types of vehicles. However, by using a Graphic EQ, you can remedy all of these problems.
As a busy motorist, you can’t afford to keep adjusting your equalizer every day. Graphic EQs allow users to adjust and store settings. Find dedicated time to adjust your EQ to your preference and store it for future use.
A Graphic Equalizer has numerous benefits, which include improving audio signals and the transmission of clear distortion-free signals to woofers, tweeters, and loudspeakers. Get a 7-band equalizer for as low as $44 here.

